Welcome to The Nest Eclectic

The Nest Eclectic
Showing posts with label tutorial. Show all posts

Friday, March 25, 2011

Pottery Barn Look Alike Tutorial

I fell in love with this Pottery Barn horse when I saw it at Nydia's blog, Evolution of Home. You should take a visit to her blog if you haven't been there and see her knock off version and instructions. She does some great projects. Thanks to her inspiration I tried making one of my own.

Pottery Barn's horse wall art


Here is my version and this is how I did it.
I found some inexpensive lightweight plank paneling at Lowe's. It fits together kind of like wood flooring but is very light.


 I  used 9 boards and cut them 25 inches long, so my background ended up being 22.5 inches wide and 25 inches tall. I then fit the boards together.


I cut 2 1x2 boards and used Liquid Nails to glue on the back across the planks about 2 inches from each side securing the boards together. Be safe, use your protective gear!


 I added some weight to make sure the boards had good contact, and waited until the next day to move on to the next step.


Now to the fun part! I used Minwax Pre-Stain wood conditioner first, it helps soft wood absorb stain more uniformly.


Then I applied Minwax stain in English Chestnut. Be sure to allow recommended dry time before beginning the next step.


I had drawn a horse and taken it to Kinko's where they enlarged it for me. I think horses are one of the most difficult animals to draw and get the proportions right. The drawing I took to Kinko's was cut in several places where I decided I needed adjustment, and all taped together. The lady looked at me like I was kind of kooky. I transferred my pattern to contact paper which I then secured to my stained board.


Make sure the contact paper is securely pressed down to avoid paint seeping under. 
Brush from the top of the contact paper out toward the edges to reduce the chances
of seeping.


I used some latex enamel paint I had on hand and lightly brushed over the entire piece. It is better to do several thin coats with dry time in between. You can  leave as much wood grain showing as you like. After it dried I sanded the edges and did some distressing. A coat of paste wax and that's it!


   Here he is, my version.

Have a great weekend
Jodie

I am joining in on these parties
Show and Tell Friday at Cindy's My Romantic Home
Fridays Unfoldedat Stuff and Nonsense
Flaunt it Fridays at Chic on a Shoestring Decorating
Inspiration Friday At the Picket Fence
Newbie Party at Debbie Doo's Blogging and Blabbing
<br><br><br><b>Join us every Friday...</b>link up every friday!Chic on a Shoestring DecoratingDebbiedoo's blogging and blabbing

Monday, March 7, 2011

Pillow Tutorial


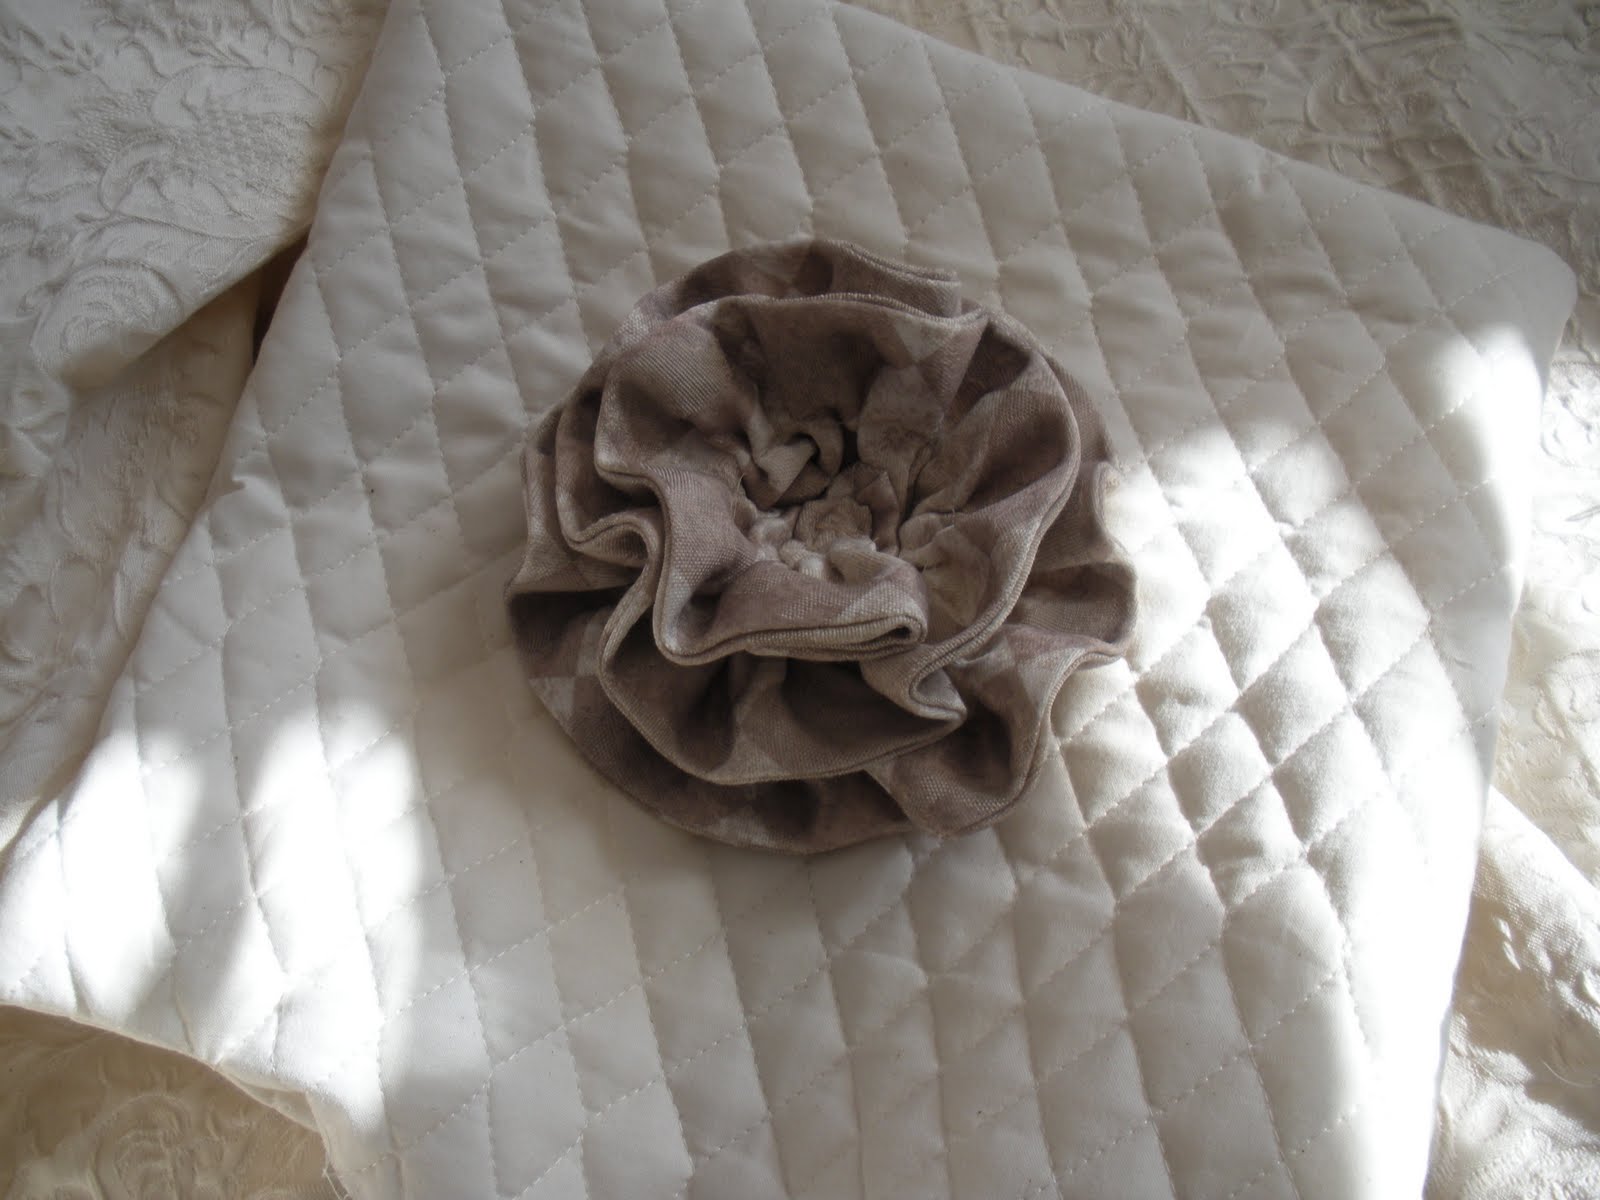
Many of the blogs I have visited lately have featured beautiful rooms and pillows done in shades of cream. I am usually more of a color girl and have lots of rich, deep colors in my home but after a long, long winter I have been inspired to play with lighter colors. I decided to make a couple of ruffle pillows in some creamy whites, so I dug through my fabric cabinet and came up with these pieces left over from previous projects. I ended up choosing the cream quilted diamond fabric and the taupe and cream diamond print.


I took one basic ruffle and made two different styles. For the first pillow I did a ruffle straight across the pillow and for the second, I took the same ruffle but tacked it into a circle to create a flower.
 We will start with the straight ruffle first. Choose your pillow form and measure the length and width. Add one inch to each measurement, this extra inch will be your seam allowance. I used a 14 X 14 inch pillow so I cut two squares of fabric 15 x15 inches. Set these pieces aside while you make the ruffle.

To determine the length of fabric you will need to make your ruffle, multiply the width of the pillow by 2 1/2. This will make a nice full ruffle.  I took 14 inches (width of pillow)  x 2.5= a strip of fabric 35 inches long. Now to figure the ruffle width.
 I wanted a ruffle that when finished was 2 3/4 inches wide so I cut a strip of fabric 6 and 1/2 inches wide. This will allow for folding in half plus the seam allowance.
So, for the ruffle I cut a strip that was 6 1/2 inches wide and 35 inches long.


To sew the ruffle, fold the right sides together lengthwise and press the fold. Sew the raw edge lengthwise using a 1/2 inch seam allowance. Sew one end leaving the other end open for turning. Turn right side out and press so that you have a long flat tube.

To gather your ruffle you can use a basting stitch on the sewing machine but if the ruffle isn't very long I just baste it by hand, weaving up and down through the material about every 1/4 inch or so, be sure to tie a knot in the end of the thread before you begin. Leave some extra thread at the end so that you have room to adjust your ruffle without it falling off the thread.
Once you have the ruffle gathered lay it across the pillow where you want it, I chose to have my ruffle off center. Adjust the ruffles so they are evenly spaced. Pin in place. Make sure the ruffle is straight before you begin, mine looked a little wobbly in this picture.
Sew down the center of the ruffle over your basting thread to attach it to the pillow.

Now you are ready to sew the pillow. Place the front and back of the pillow together with right sides facing each other, sew around the outside of the pillow using a 1/2 inch seam allowance. Leave an opening on one side that is large enough to put your pillow form through. Clip the corners as shown and turn right side out.

                                    Put the pillow form in through the opening.

Fold the raw edges in toward the inside of the pillow and pin the opening closed. Sew shut by hand.


There you have it. I am loving the cream!

 Now I'll show you how to make a flower. Measure, cut and sew the same ruffle as instructed above but once you have turned the tube right side out baste the open end closed by hand. Press flat. This will give you a long tube with no openings. Gather your ruffle as before.
This time, once you have the ruffle gathered, sew right down the middle of the RUFFLE ONLY right over your basting stitches. Do not sew it to the pillow. You will end up with a loose ruffle that looks like this.
Next start shaping your ruffle into a flower. Holding one end start turning the ruffle in a circle around its self
As you form the flower tack it on the back side to hold it together. I like to use Embroidery floss instead of thread for this, it is much stronger than thread. I cut a length of floss and divide out 3 strands to use.
Continue turning and tacking. Be certain to look at the front as you go along to make sure you are getting the look of a flower.
When you reach the end of the ruffle tack the end and knot your floss to secure.

Make your pillow as above sewing right sides together leaving an opening on one side big enough to fit your
pillow form through. Clip the corners and turn right side out.

r
Place your completed flower in the center of the front side of your pillow. Tack in place.


Now you are ready to insert your pillow form and sew the opening closed as with the pillow above.

For a little sparkle I added a vintage broach to mine.

There you have it, one ruffle, two styles!
                                                                                 Jodie

I'm joining The DIY Showoff Project Parade


The DIY Show Off


Thursday, March 3, 2011

Easy to Make Topiary

The sun has been out the past few days and it has me thinking Spring. I can't wait to start seeing some green  again! So, in the spirit of green, I thought I would share how to make this easy topiary. I have made several of these and have them in different spots throughout the house. They are great for me because I can't seem to keep real plants alive indoors. I can grow almost anything outside, but any live plant in my house has pretty much received a death sentence.


Here is what you need for the project.
1. An urn or container of your choice, the opening should be about 5 1/2 inches wide.
2. A round twig ball, available at Hobby Lobby and many other craft stores.
    These come in different sizes, I used a 5" ball for this project but you can use a size bigger if you like.
3. One ivy bush, you need one that has some vines that are about 24 inches long.
4. A block of florist foam.
5. Excelsior or moss.
6. Thin wire

 Cut the florist foam with a knife so that it fits securely into your container.
 Cover the foam with your excelsior or moss

Push the ivy stem down into the foam until it is secure.
 Spread the ivy branches out evenly into a circle.
 Set your twig ball in the center.

Start pulling the longer ivy branches up and around the ball. Curve them around in different directions so they aren't totally  uniform. You can poke the ends of the vines down into the ball or secure them with a little piece of wire. I like to leave a few of the shorter branches free at the bottom to frame the top of the container.
 That's it! A pretty, easy topiary. No water needed just a little dusting. Actually, when my silk plants do get dirty, I pull them out of the container and clean them off in the sink with water. If it's nice outside I spray them with the hose. You can hose off the twig balls as well and it doesn't hurt them a bit.

                                        Jodie