Welcome to The Nest Eclectic

The Nest Eclectic

Monday, March 21, 2011

Gratitude


 Last week turned out to be full of blessings. Sometimes it happens when you least expect it! If you are a follower of my blog you know that I've recently done makeovers on several pieces of furniture, the little vintage chair, the French end table and a couple of mirrors I haven't shown you.  It is something that I'm really enjoying, transforming ugly ducklings into something pretty again.


Well, this weekend I put my things in an Estate Sale my sister in-law was having and the chair, the cute little end table, and a mirror all sold. I was really excited and encouraged. To top it all off, I had a wonderful surprise when Alison at Stuff and Nonsense featured my cow chair at her Fridays Unfolded party. So, I'm feeling really grateful right now.


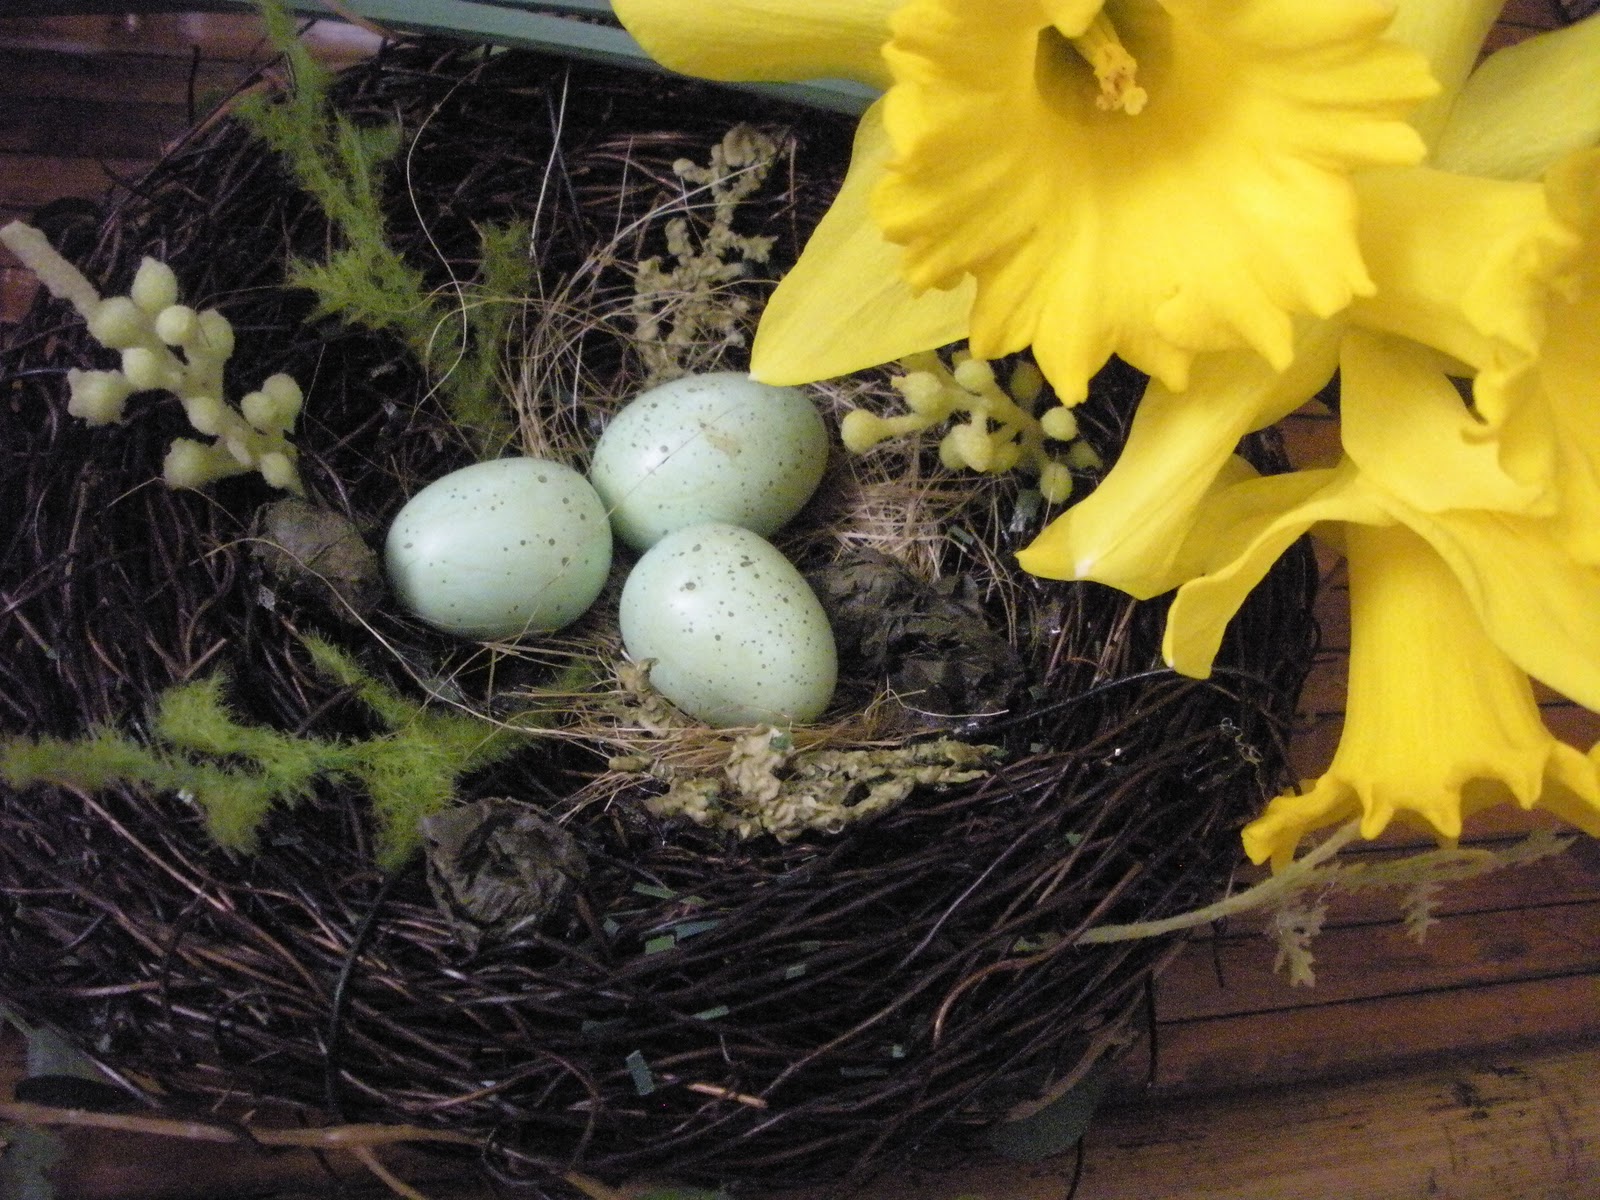
I was so excited about selling some of the things I painted that I bought a few more pieces this weekend. I will share the before and afters with you later. But for now I just wanted to share a little taste of Spring that just appeared in our yard this week.


                                                                    Happy Monday   
                                                                             Jodie                                                                                    

Thursday, March 17, 2011

Little French Finale


If you didn't see my sneak peak before, here is the little end table I found at GW the other day. I was thrilled to find just the right piece to try one of Miss Mustard Seed's classic finishes on. I've been dying to do a piece with a stained top and painted and glazed bottom. This one had such nice curves, I knew it was the perfect candidate.
 I used my little Black and Decker sander for the flat parts and did the rest by hand. I was pleasantly surprised at how easily the finish came off.
I used Minwax Dark Walnut stain for the top. The bottom is done in a creamy white followed with a little distressing and the Dark Walnut again for the glaze. I was a little nervous about using the stain as a glaze so it took me a whole day to work up the courage to actually wipe it on. I am such a chicken about things like that sometimes, after all, what is the worst that will happen?  I'm glad I went ahead because I do like the way it looks. For the top coat I used Minwax Paste wax.
Here she is all finished and ready for her close up. I love the staging part of the photo shoot, that is my kind of fun!
I think this finish is a great compromise for those who love wood but want to update a piece. You get the best of both worlds.
I will be putting her up for sale now that her face lift is done and hopefully she will find a new family to love her. I wonder if this is anywhere close to how a plastic surgeon feels after a successful procedure? Wish it were that easy with people, just sand a little, slap on some paint and varnish and you're good to go another 30 years!
I want to say a special thank you to Alison at Stuff and Nonsense for featuring my Holy Cow chair at her Fridays unfolded party. It was really exciting to see my chair chosen to be featured with some other great projects!

Jodie

I am joining in on a few parties
Miss Mustard Seed's Furniture Feature Friday
Fridays Unfolded at Stuff and Nonsense
Show and Tell Friday at Cindy's My Romantic Home
Inspiration FridayAt the Picket Fence

<br><br><br><b>Join us every Friday...</b>link up every friday! Furniture Feature Fridays...


Wednesday, March 16, 2011

A Little French Find!

I've been haunting Good Will and Savers lately looking for just the right piece of furniture to try a Miss Mustard Seed paint finish on. I wanted to try one of her signature pieces with a stained top and painted and glazed bottom.  I ran into GW the other day and headed straight to the back were the furniture is. When I got to the middle of the store I spotted the perfect little piece. There were tons of people there that day for some reason and furniture there seems to go fast, so I kind of jogged the rest of the way over there and grabbed the tag. Yeah, it was mine!


 Is it just me or does your heart start racing a little when you find just what you've been looking for?


Here she is in progress. I had to give you a sneak peak before it's finished.


I also found this great chair at a garage sale awhile back and am trying to decide what to do with it. I want to reupholster it and I was thinking it might be fun to have a monogram done on the back rest of the chair.

It's in good shape except for the fabric which I think had some major sun rot.
I always seem to be drawn to interesting legs and I'm a sucker for claw and ball feet.


I'm not sure what to do for the finish on the arms and legs. I'm thinking maybe a brushed whitewash look? I'm conflicted. I would love to hear your thoughts and suggestions on a finish for the arms and legs.
                                                                 Enjoy the day!
                                                                        Jodie

Monday, March 14, 2011

Eye Candy

Maybe it's the artist in me but I tend to look at the beauty in everyday things. I notice the color and texture of things.  How the light hits them and I am always thinking what the best angle would be for taking a photograph of something.


I was making an apple pie the other day, and the apples were so vibrantly green that I had to take pictures. My husband walked in and asked why I was taking pictures of apples? It was just because they were pretty. He doesn't totally understand the way my brain works because he is a numbers man. He doesn't get it when I stop and take a picture of a leaf or a rock and get all excited about it. But I knew you would appreciate some pictures of pretty apples so I thought I would share.


I always have to add a little something to the top of my pies.


I used to use tiny cookie cutters to cut out leaves or flowers but then I started cutting out my own shapes with a knife. It is kind of like making something out of Play Dough or clay. 


I had never tried rolled up flowers before, but why not?


I'm sure many of you out there look for beauty in everyday things in life too.
Jodie

Thursday, March 10, 2011

Holy Cow Chair!


For a long time, I've had a cow chair on my wish list. After pricing a few coming in at at least $1,000,  I decided to take action and make my own, even though I had never reupholstered before. My friends and family know I'm crazy like that. I've covered seat cushions and made a couple of slipcovers but never reupholstered an entire chair. But that wasn't going to stop me. As usual I was so excited to start the project that I neglected to take a picture of the chair before I started taking it apart and I didn't take any pics of the cowhide, shucky darn. It would have made a great tutorial.


 This great chair came from Revival, a consignment shop in my area. At $80.00 it was actually more than I normally pay for a chair to redo but it had great bones,was hand tied, and I fell in love with the style. Looking past the burgandy vinyl I could see a diamond in the rough.

Once I took it apart, I found it was in good condition.  I did have to retie a few of the springs and I added a little more padding to the seat but that was all the prep work I had to do. I  looked on line at several videos on how to reupholster and got lots of good tips on how to proceed. I am a visual learner so that worked for me.

There was one little medical mishap with the project. I almost had all the old staples out when I slipped with the screwdriver and punctured my palm with it. It was a big gash and was bleeding bad. I am not good with the sight of blood and I thought I was going to pass out. I covered it with paper towels, and layed down on the floor and called my husband. Guess I dialed the wrong number and I got some man on the phone who was wondering what I was babbling about. I gave up and just layed there since I knew h would be home soon. I was alright and I didn't get stitches, but my injury did make the rest of the project a little more difficult.


I purchased a Stanley electric staple gun for the project and it was both a lifesaver and fun to use. With my old manual one the staples would never go completely in and I would have to hammer them down.  I did take pictures as I took the chair apart so I would know how to put it back together, and I used the old vinyl as a pattern to cut out the cow hide.
We purchased our hide at Nebraska Furniture Mart, they had a promotion going and the hides were on sale for $179.00. I had looked on line for one but I wanted to see it in person before buying. From my research you need to be sure to purchase a quality hide, it should be soft and pliable. Stiff hard hides are not good as they can eventually crack. The hide was easy to cut with regular sewing scissors and just a little of the hair around the edges fell off after cutting it. Each section of the chair is stapled except the back and that is attached with the nailhead trim. I  sewed all the cording on the sewing machine.


I hardly had any hide left after the project, just a few small pieces that I made into a pillow. I  would recommend that if you plan on doing this project that you carefully measure how much you need. Cowhides vary in size and you have to take into consideration that the pieces have to be symmetrical for a chair.


 I knew I wasn't going to have enough hide to do the back of the chair so I got some basket weave vinyl that looks like leather to do that part. I have to say vinyl has really improved over the years, I found this at JoAnn's, and it really does resemble leather. The back of the chair was the final step. It covers up the staples from the front piece and cording. To attach the back,center the fabric at the top and work your way around both sides folding the edges under and using the decorative nail heads to hold it in place then tuck the bottom part under the chair and staple.

This is where the cow chair normally sits, in the family room, but it is on the north and the room is kind of  dark so I was having trouble getting good pictures. I need to get a new camera.


I moved the chair to the living room for better picture taking light and I think he looks kind of cute there.

 I spent $80.00 on the chair, $179.00 for the hide and probably $25.00 for upholstery supplies plus the new stapler, so for a little over $300.00 and some hard work, I got my cow chair! 

Jodie

I am joining in on these parties

Miss Mustard Seed's Furniture Feature Friday
Show and Tell Friday at My Romantic Home
Inspiration Friday At the Picket Fence
                                                      Fridays Unfolded at Stuff and Nonsense
                                                       The DIY Project Parade at The DIY Showoff
                                                Deborah Jean's Dandelion House Farmgirl Friday Blog Hop
Farmgirl Friday Blog Hop 


<br><br><br><b>Join us every Friday...</b>
Furniture Feature FridaysButton Up
The DIY Show Off


Monday, March 7, 2011

Pillow Tutorial


Many of the blogs I have visited lately have featured beautiful rooms and pillows done in shades of cream. I am usually more of a color girl and have lots of rich, deep colors in my home but after a long, long winter I have been inspired to play with lighter colors. I decided to make a couple of ruffle pillows in some creamy whites, so I dug through my fabric cabinet and came up with these pieces left over from previous projects. I ended up choosing the cream quilted diamond fabric and the taupe and cream diamond print.


I took one basic ruffle and made two different styles. For the first pillow I did a ruffle straight across the pillow and for the second, I took the same ruffle but tacked it into a circle to create a flower.
 We will start with the straight ruffle first. Choose your pillow form and measure the length and width. Add one inch to each measurement, this extra inch will be your seam allowance. I used a 14 X 14 inch pillow so I cut two squares of fabric 15 x15 inches. Set these pieces aside while you make the ruffle.

To determine the length of fabric you will need to make your ruffle, multiply the width of the pillow by 2 1/2. This will make a nice full ruffle.  I took 14 inches (width of pillow)  x 2.5= a strip of fabric 35 inches long. Now to figure the ruffle width.
 I wanted a ruffle that when finished was 2 3/4 inches wide so I cut a strip of fabric 6 and 1/2 inches wide. This will allow for folding in half plus the seam allowance.
So, for the ruffle I cut a strip that was 6 1/2 inches wide and 35 inches long.


To sew the ruffle, fold the right sides together lengthwise and press the fold. Sew the raw edge lengthwise using a 1/2 inch seam allowance. Sew one end leaving the other end open for turning. Turn right side out and press so that you have a long flat tube.

To gather your ruffle you can use a basting stitch on the sewing machine but if the ruffle isn't very long I just baste it by hand, weaving up and down through the material about every 1/4 inch or so, be sure to tie a knot in the end of the thread before you begin. Leave some extra thread at the end so that you have room to adjust your ruffle without it falling off the thread.
Once you have the ruffle gathered lay it across the pillow where you want it, I chose to have my ruffle off center. Adjust the ruffles so they are evenly spaced. Pin in place. Make sure the ruffle is straight before you begin, mine looked a little wobbly in this picture.
Sew down the center of the ruffle over your basting thread to attach it to the pillow.

Now you are ready to sew the pillow. Place the front and back of the pillow together with right sides facing each other, sew around the outside of the pillow using a 1/2 inch seam allowance. Leave an opening on one side that is large enough to put your pillow form through. Clip the corners as shown and turn right side out.

                                    Put the pillow form in through the opening.

Fold the raw edges in toward the inside of the pillow and pin the opening closed. Sew shut by hand.


There you have it. I am loving the cream!

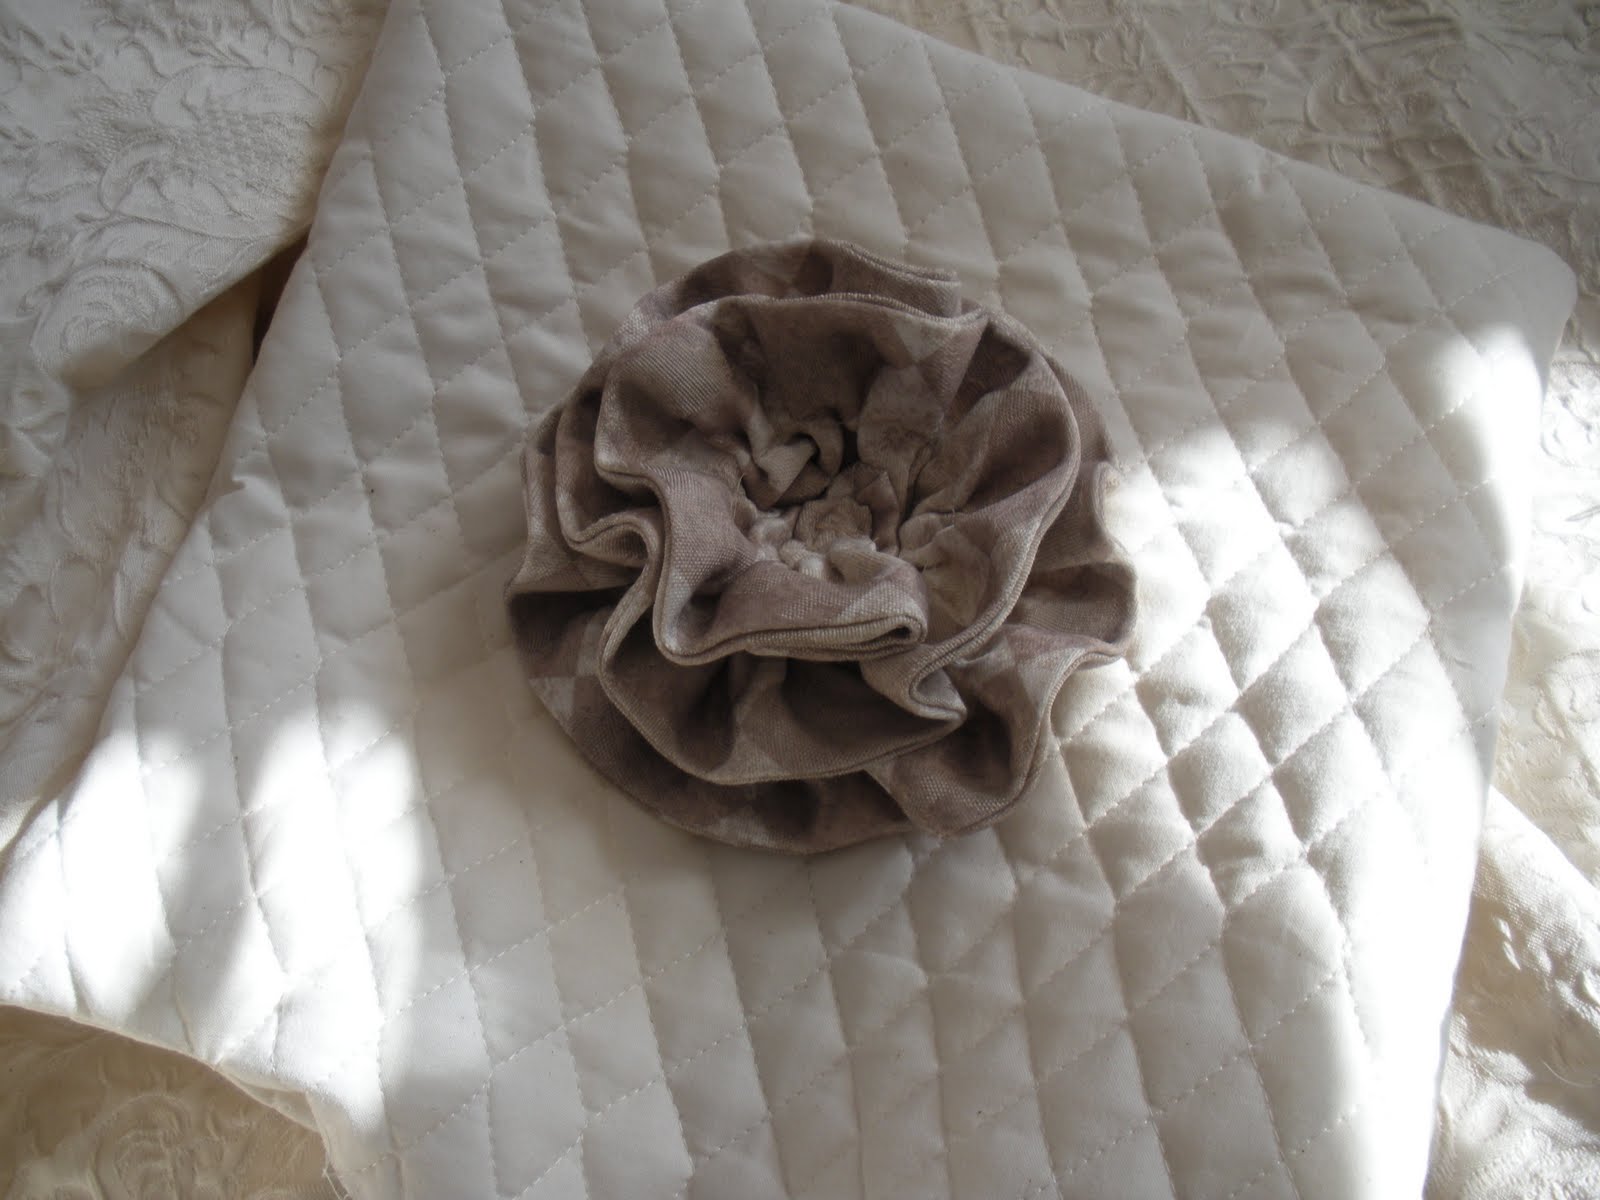
 Now I'll show you how to make a flower. Measure, cut and sew the same ruffle as instructed above but once you have turned the tube right side out baste the open end closed by hand. Press flat. This will give you a long tube with no openings. Gather your ruffle as before.
This time, once you have the ruffle gathered, sew right down the middle of the RUFFLE ONLY right over your basting stitches. Do not sew it to the pillow. You will end up with a loose ruffle that looks like this.
Next start shaping your ruffle into a flower. Holding one end start turning the ruffle in a circle around its self
As you form the flower tack it on the back side to hold it together. I like to use Embroidery floss instead of thread for this, it is much stronger than thread. I cut a length of floss and divide out 3 strands to use.
Continue turning and tacking. Be certain to look at the front as you go along to make sure you are getting the look of a flower.
When you reach the end of the ruffle tack the end and knot your floss to secure.

Make your pillow as above sewing right sides together leaving an opening on one side big enough to fit your
pillow form through. Clip the corners and turn right side out.

r
Place your completed flower in the center of the front side of your pillow. Tack in place.


Now you are ready to insert your pillow form and sew the opening closed as with the pillow above.

For a little sparkle I added a vintage broach to mine.

There you have it, one ruffle, two styles!
                                                                                 Jodie

I'm joining The DIY Showoff Project Parade


The DIY Show Off